Welcome to our final day of 3 Birds projects created using the amazing adhesives from Xyron! So far this week, we have had some amazing projects including an altered wood letter and an altered burlap canvas. Today, we finish off the week with an adorable mini album by Robbie Herring.
Hi y'all! It's Robbie today. I wanted to share a mini album that I created with the Xyron Creative Station and 3 Birds products. The Xyron Creative Station is perfect for larger items that you want to turn into stickers. A mini album goes together perfectly and easily when using the Xyron Creative Station!
Here is the album that I made.
 To get started, I cut all the pieces to make my mini album out. I decided to make this a fairly small album that you be great for a gift. I used my Spellbinders dies to cut 4 pieces of chipboard and 8 pieces of paper to cover the chipboard.
Next, I fed the chipboard and 4 of the patterned paper pieces through the Xyron Creative Station.

DESIGNER TIP | To make your adhesive go as far as possible, use the tray to place them close to the previous pieces. Don't cut them until you have fed all the pieces through the machine.
Now you are ready to adhere your paper to build your album! One side of the chipboard will have adhesive, so use one of the pieces that you didn't feed through to cover that side. You will then use a piece of the adhesive covered paper for the other side of the chipboard.
 I also used the Spellbinder's dies to cut an additional piece of paper for the top of each page of my album. These pieces were added using my Xyron Mega Runner. I wanted to have the option to curl or distress the edges, so I didn't want these pieces covered completely with adhesive. The Mega Runner was perfect! It does a great job of holding things firmly!

The next steps were a few details and then putting it together.
I love the look of stitching to add detail, but it can be a bit tough on a mini album to make it look right on both sides. To get a similar look quickly and easily, I just used my Souffle pens and did a quick outline around each page.

To put it all together, I added eyelets to each page and used a ring to hold it all together. And of course, I added a bow!
Time to start embellishing! I used a few things from both Graceful Season and Midday Medley for my album. Paper, chipboard, punched leaves and flowers were the choices I made. The collections have so many embellishment choices and complement each other so well. It really makes embellishing easy.

I loved how easy this went together using the Creative Station! Don't forget that Xyron makes so many other great products!
To see the inside of My Favorite Moments Mini Album, be sure to stop by my blog! I have it all finished for you to see today!
Thanks so much for stopping by to see my project!
Robbie
SUPPLIES | Midday Medley Paper Collection, Midday Medley 3D Embellishment Kit, Graceful Season Paper Collection, Graceful Season Sticky Sparkly Chipboard Shapes
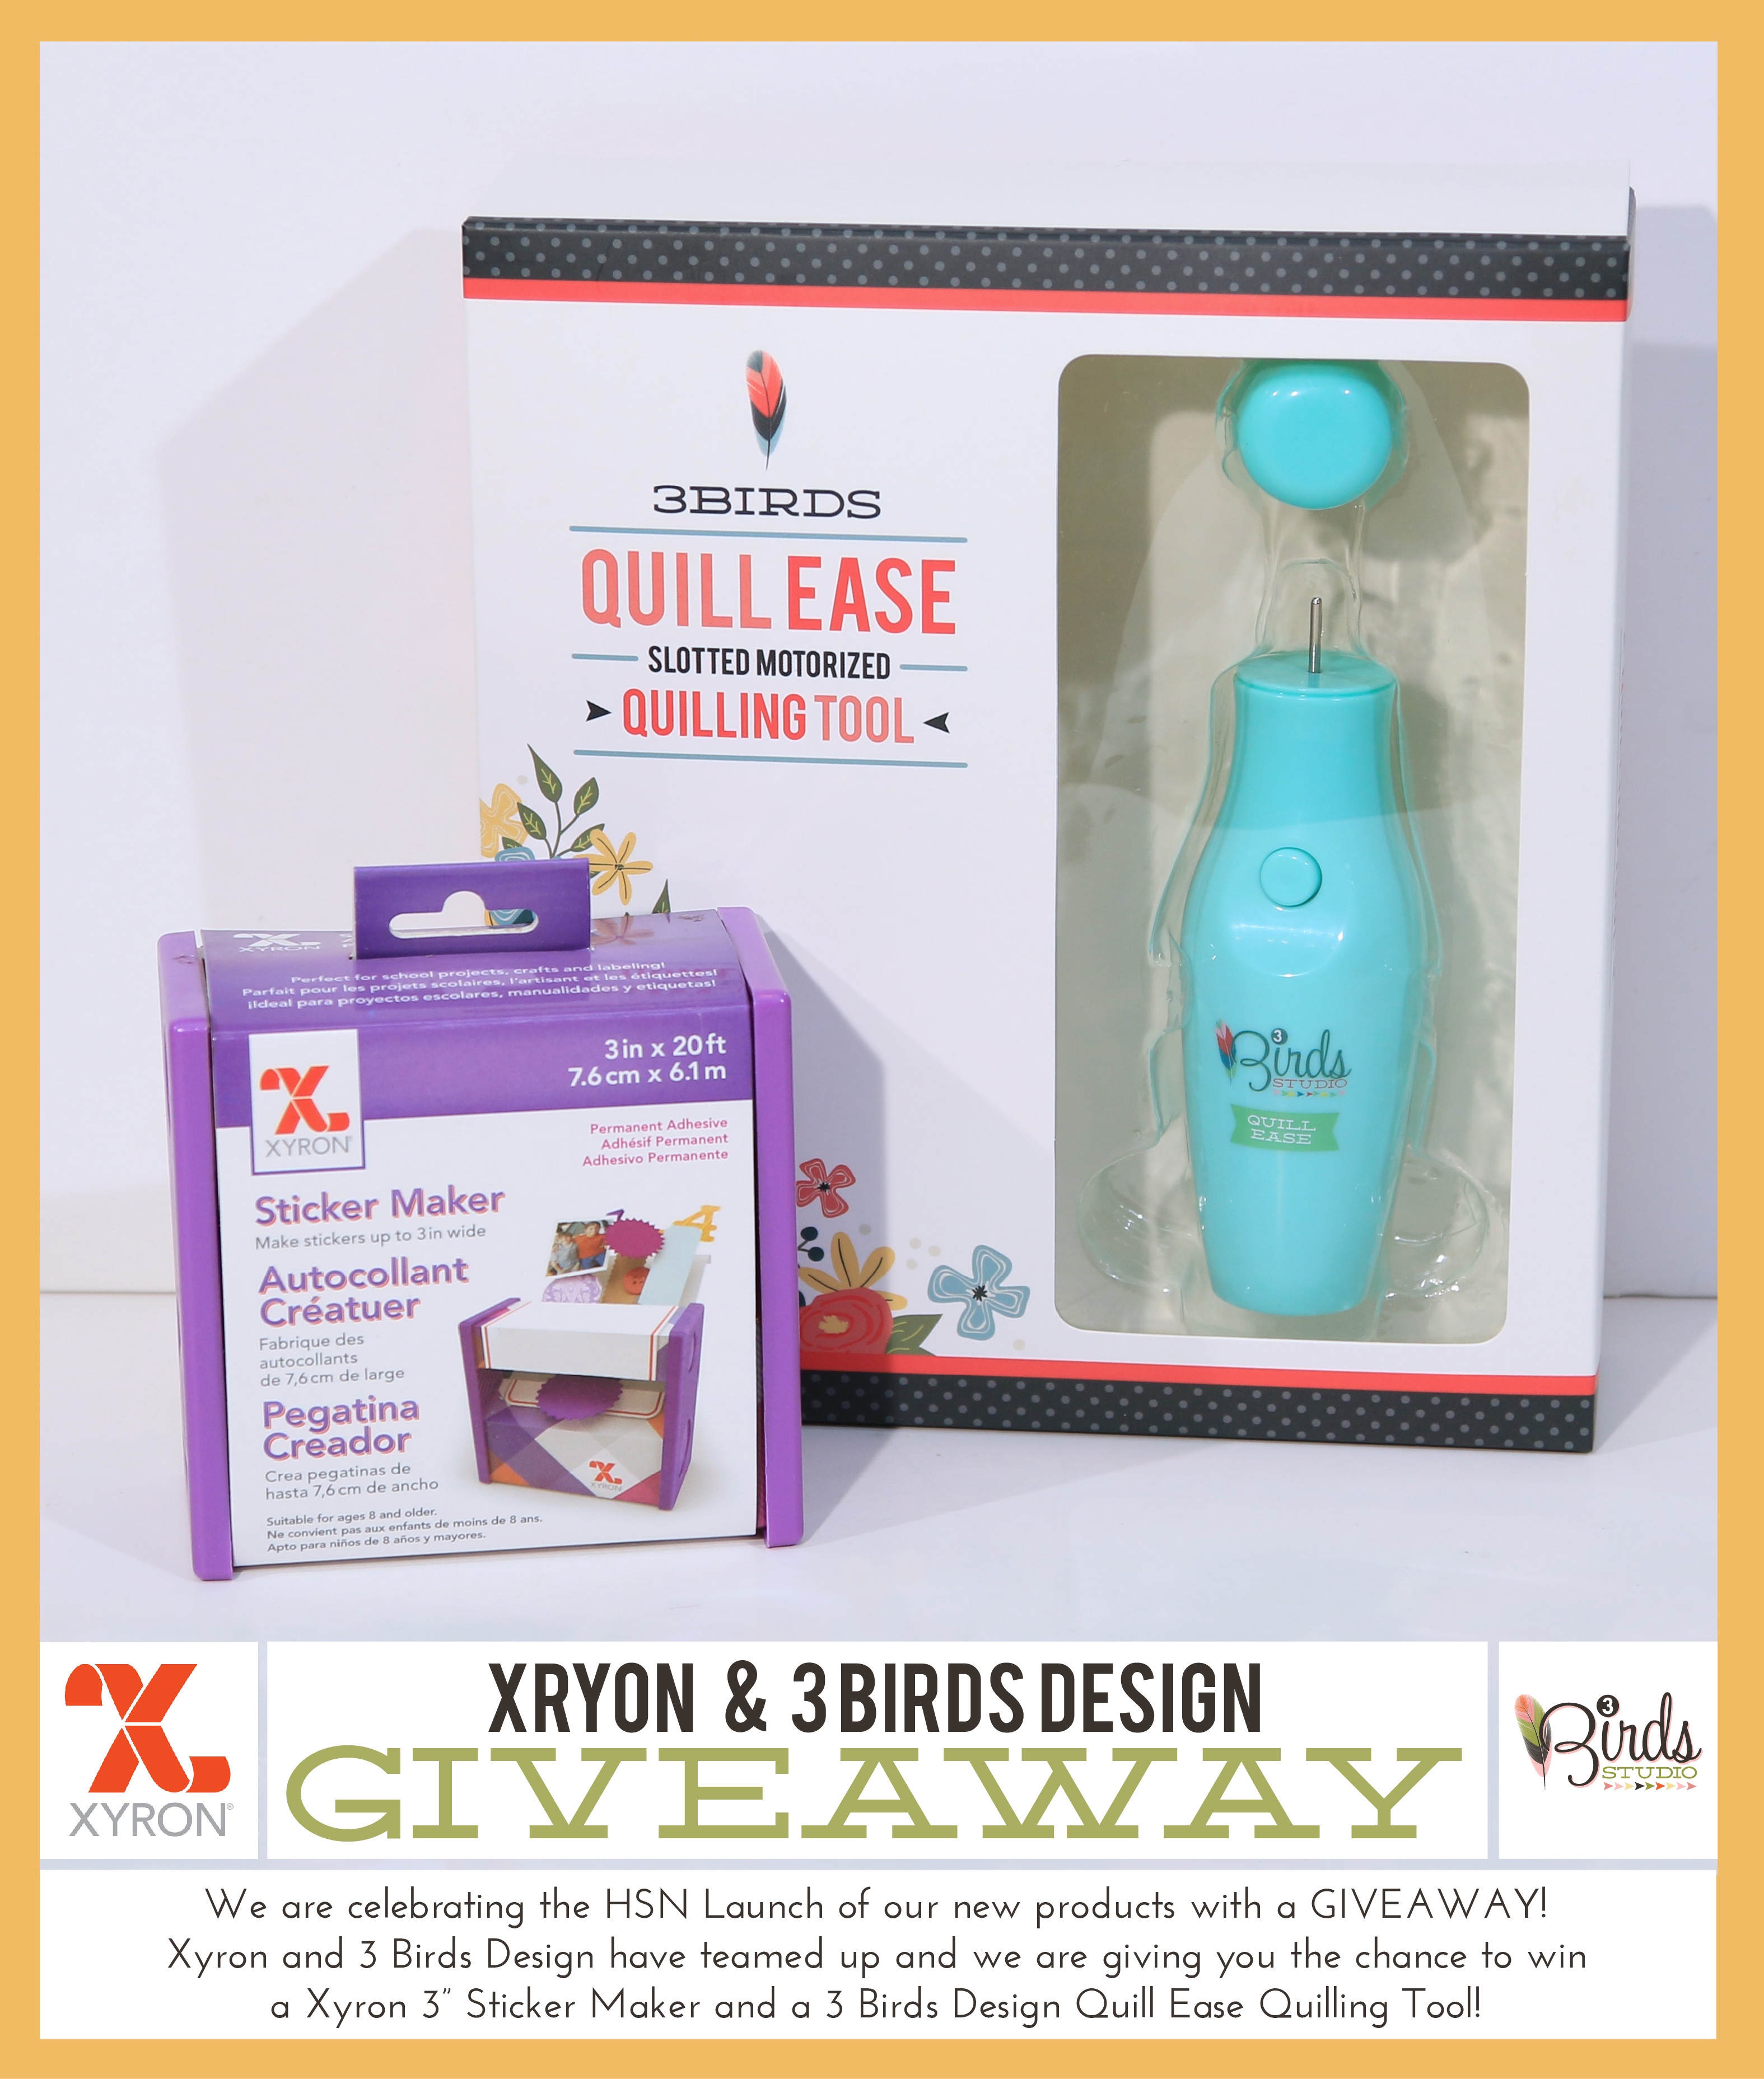
Don't forget to enter to WIN one of two amazing prize packages as we celebrate the HSN Launch of our new products and the generosity of our friends at Xyron! Click on this link to enter for your chance to WIN - http://tinyurl.com/kc3gxfa
Visit the Xyron blog and Facebook page for more inspiration and ideas on using their products and make sure you let them know that 3 Birds sent you!!
Hi y'all! It's Robbie today. I wanted to share a mini album that I created with the Xyron Creative Station and 3 Birds products. The Xyron Creative Station is perfect for larger items that you want to turn into stickers. A mini album goes together perfectly and easily when using the Xyron Creative Station!
Here is the album that I made.
 To get started, I cut all the pieces to make my mini album out. I decided to make this a fairly small album that you be great for a gift. I used my Spellbinders dies to cut 4 pieces of chipboard and 8 pieces of paper to cover the chipboard.
Next, I fed the chipboard and 4 of the patterned paper pieces through the Xyron Creative Station.

DESIGNER TIP | To make your adhesive go as far as possible, use the tray to place them close to the previous pieces. Don't cut them until you have fed all the pieces through the machine.
Now you are ready to adhere your paper to build your album! One side of the chipboard will have adhesive, so use one of the pieces that you didn't feed through to cover that side. You will then use a piece of the adhesive covered paper for the other side of the chipboard.
 I also used the Spellbinder's dies to cut an additional piece of paper for the top of each page of my album. These pieces were added using my Xyron Mega Runner. I wanted to have the option to curl or distress the edges, so I didn't want these pieces covered completely with adhesive. The Mega Runner was perfect! It does a great job of holding things firmly!
The next steps were a few details and then putting it together.
I love the look of stitching to add detail, but it can be a bit tough on a mini album to make it look right on both sides. To get a similar look quickly and easily, I just used my Souffle pens and did a quick outline around each page.

To put it all together, I added eyelets to each page and used a ring to hold it all together. And of course, I added a bow!
Time to start embellishing! I used a few things from both Graceful Season and Midday Medley for my album. Paper, chipboard, punched leaves and flowers were the choices I made. The collections have so many embellishment choices and complement each other so well. It really makes embellishing easy.

I loved how easy this went together using the Creative Station! Don't forget that Xyron makes so many other great products!
To see the inside of My Favorite Moments Mini Album, be sure to stop by my blog! I have it all finished for you to see today!
Thanks so much for stopping by to see my project!
Robbie
SUPPLIES | Midday Medley Paper Collection, Midday Medley 3D Embellishment Kit, Graceful Season Paper Collection, Graceful Season Sticky Sparkly Chipboard Shapes
Don't forget to enter to WIN one of two amazing prize packages as we celebrate the HSN Launch of our new products and the generosity of our friends at Xyron! Click on this link to enter for your chance to WIN - http://tinyurl.com/kc3gxfa
Visit the Xyron blog and Facebook page for more inspiration and ideas on using their products and make sure you let them know that 3 Birds sent you!!






 Posts
Posts

